Magic Maker Storage Bins
Magic Maker Storage Bin (def): a bin or crate (in the classroom or at home) that includes scraps, recycled materials, and craft supplies that can be utilized for Maker projects. Common side effects of including a Magic Maker Storage Bin in your classroom could include increased creativity, a newfound interest in repurposing, and a surge of confidence and collaborative learning.

Adding one of these to your classroom will allow your students to be ready and equipped to take on a surge of creative Maker projects at a moment’s notice. You’re normally working backward in terms of creating lesson plans where you first choose the lesson plan, then find the supplies. Instead, why not amass a plethora of supplies, and find or create lesson plans to work around them?
The magic of Maker Bins comes from the fact that they start as, what can politely be referred to as a pile of junk. Students will see a box in the classroom filled with things like popsicle sticks and tissue boxes and likely think this is where they should stick their gum before the bell rings. But then, all of a sudden, they’re tasked to build a functioning bridge using only popsicle sticks and tissue boxes. And, what was once a hunk of junk, becomes a new challenge that they can face head-on and conquer.

a) Make a Maker Bin for your classroom
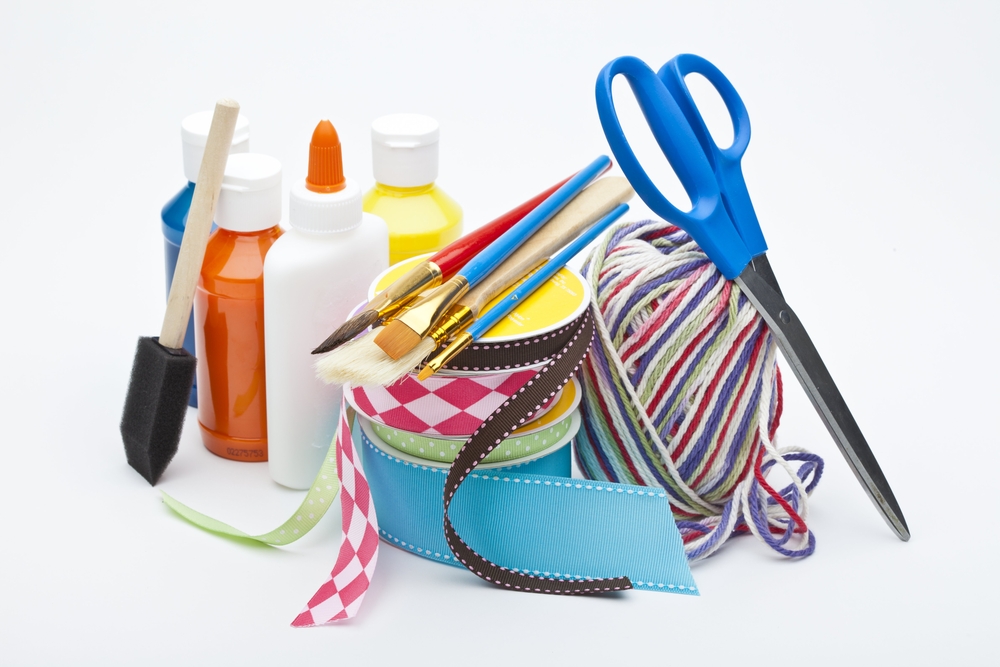
As we stated previously, these boxes initially look like mere piles of junk. If you haven’t guessed yet, this means that amassing one will be very affordable for you. Here is a list of supplies that we’ve been able to craft into multiple fun and educational activities:
- Boxes or containers
- Packing materials
- Bubble wrap
- Plasticware
- Magnets
- Old remotes
- Fabric scraps
- Metal washers
- Nuts, bolts, & screws
- Cardboard tubes
- Twisty ties
- Corks
- Wires
- Magazines (classroom-friendly)
- Old CDs
- Egg crates
- Sticky notes
- Pipe cleaners
- Rulers
- String
- Disposable cups
- Drinking straws
- Paper clips
- Paper bags
- Rubber bands
- Transparent tape
- Painter’s tape
- Masking tape
- Pipe pong balls
- Drawing utensils
- Aluminum foil
- Popsicle sticks
- Safety scissors
- Glue sticks
- Cotton balls
- Weatherstripping
- Index cards
- Tissue boxes
- Cutting mat
This may seem like a lot, but if you take a close look at the list you likely have a lot of these supplies already seeing as most are household items or teacher basics. If this still feels daunting to you, however, we encourage you to reach out to local businesses. Visit (or call, if you want to be safer) your local office supplies store or hardware store and see if they’d be willing to donate any of the listed supplies to your classroom and at what quantity. Every business from a big chain to a local business is looking for ways to give back right now, especially to our children’s education.
In addition, once you’ve amassed the supplies, make sure you find a way to keep everything organized. When you think of the word ‘bin’ you likely picture a mish-mash of items, but the last thing you want is for students to have to waste time combing through to see what supplies they have to work with (especially on projects with a time constraint). Although you want to keep everything in one area so students know where to look, try to keep similar items grouped together and label everything clearly to help limit the amount of time students will spend in the area looking for supplies.

b) Encourage or help parents make some for at home
As we’ve stated previously, school this year will look different for everyone. Some schools are planning for online-learning only and others are doing a combination of online and in-classroom learning in rotation. If your school will be having major at-home learning components, make some maker bins for student’s homes. A lot of questions are probably going through your head right now, primarily- how do I organize and enforce that? Well, for this option we suggest not only looking for donations from local businesses but also getting the parents involved.
Parents are currently overwhelmed with the idea of at-home learning so the promise of having their child occupied with an activity for an extended period of time while they’re home will have them leaping at the chance to help you organize it. Rather than handing them this hefty list of supplies to get for their own home, however, simply assign one supply per parent in bulk. For example, one parent obtains disposable cups for the classroom while another obtains index cards or tissue boxes. You can create a spreadsheet and allow parents to sign up for which item they volunteer to obtain, this way if they have extra tissue boxes or a friend they could get them from their supply run will be even easier.
Next, have all the parents mail or bring in their separate supplies to you. Once you have collected all of the items, make personalized Maker Bins for each student. These will be more like Mini Maker Bins compared to your classroom model, but this way each student has the supplies he or she will personally need for Maker projects. This way when you’re writing lesson plans this year, rather than hope and pray students have the supplies they’ll need at home, you’ll know exactly what they have to work with and can plan your lessons accordingly with a higher degree of ease and fun!
And, if you’re looking for some fun lesson plans for your new Magic Maker Storage Bins, we’ve made several available through our Hour of Innovation teacher resources!